This guide assumes GlanceRF is already installed. Install methods (core installer, GitHub + installer, manual pip, Docker, service mode) are documented in Installation—use that first.
When GlanceRF starts, complete the setup wizard (grid size, callsign, location). Then use the sections below for run at logon and day-to-day use.
Run at logon
To run GlanceRF automatically when your computer starts (or when you log in), you need GlanceRF installed and working when run manually. You also need your Project folder path (the folder that contains run.py, glancerf, and glancerf_config.json).
Easiest: use the installer
When you install, say yes when asked to run at logon. To change that later, run the installer again from Project/installers (see Installation, method 2).
| Platform | From Project folder |
|---|---|
| Windows | Double-click installers\install-windows.bat. When prompted "Run GlanceRF at Windows logon? (Y/N)", choose Y. |
| Linux | chmod +x installers/install-linux.sh then ./installers/install-linux.sh. When prompted "Run GlanceRF at logon? (y/n)", choose y. |
| macOS | chmod +x installers/install-mac.sh then ./installers/install-mac.sh. When prompted "Run GlanceRF at logon? (y/n)", choose y. |
Windows (manual)
Option A: Startup folder (easiest)
- Press
Win + R, typeshell:startup, press Enter. A folder opens. - Right-click in the folder and choose New > Shortcut.
- For the target (replace
C:\Path\To\Projectwith your real Project path): - Run Python directly:
C:\Windows\System32\cmd.exe /k cd /d C:\Path\To\Project && py -3 run.py
(Or usepythoninstead ofpy -3if that is how you run Python.) - Name the shortcut (e.g. GlanceRF) and finish.
- Log off and log back in (or restart). GlanceRF should start automatically and a console window will appear.
To stop GlanceRF, close that console window or press Ctrl+C in it.
Option B: Task Scheduler (no console window)
- Open PowerShell, go to your Project folder:
cd C:\Path\To\Project. - Create a scheduled task that runs at your logon (replace
C:\Path\To\Projectandpy -3if needed):powershell $ProjectPath = "C:\Path\To\Project" $Action = New-ScheduledTaskAction -Execute "cmd.exe" -Argument "/c cd /d `"$ProjectPath`" && py -3 run.py" -WorkingDirectory $ProjectPath -WindowStyle Hidden $Trigger = New-ScheduledTaskTrigger -AtLogOn -User $env:USERNAME $Settings = New-ScheduledTaskSettingsSet -AllowStartIfOnBatteries -DontStopIfGoingOnBatteries -StartWhenAvailable $Principal = New-ScheduledTaskPrincipal -UserId $env:USERNAME -LogonType Interactive Register-ScheduledTask -TaskName "GlanceRF" -Action $Action -Trigger $Trigger -Settings $Settings -Principal $Principal - Log off and log back in. GlanceRF will start in the background.
To remove the task later:
Unregister-ScheduledTask -TaskName "GlanceRF" -Confirm:$false
Ubuntu and other Linux (manual)
On Linux we use systemd so GlanceRF runs as a user service: it starts when you log in and stops when you log out.
1. Create the user service
From your Project folder (the one that contains run.py):
mkdir -p ~/.config/systemd/user
Create ~/.config/systemd/user/glancerf.service with (replace /path/to/Project and the Python path):
[Unit]
Description=GlanceRF dashboard
After=network.target

[Service]
Type=simple
WorkingDirectory=/path/to/Project
ExecStart=/usr/bin/python3 run.py
Restart=on-failure
RestartSec=5
StandardOutput=journal
StandardError=journal

[Install]
WantedBy=default.target
Use which python3 to get the correct ExecStart path.
2. Enable and start
systemctl --user daemon-reload
systemctl --user enable glancerf
systemctl --user start glancerf
3. Useful commands
| Action | Command |
|---|---|
| Start | systemctl --user start glancerf |
| Stop | systemctl --user stop glancerf |
| Restart | systemctl --user restart glancerf |
| View logs | journalctl --user -u glancerf -f |
| Disable at login | systemctl --user disable glancerf |
macOS (manual)
On macOS we use launchd so GlanceRF runs as a LaunchAgent: it starts when you log in.
1. Create the LaunchAgent
Create ~/Library/LaunchAgents/com.glancerf.plist with (replace /path/to/Project and the Python path):
<?xml version="1.0" encoding="UTF-8"?>
<!DOCTYPE plist PUBLIC "-//Apple//DTD PLIST 1.0//EN" "http://www.apple.com/DTDs/PropertyList-1.0.dtd">
<plist version="1.0">
<dict>
    <key>Label</key>
    <string>com.glancerf</string>
    <key>ProgramArguments</key>
    <array>
        <string>/usr/bin/python3</string>
        <string>run.py</string>
    </array>
    <key>WorkingDirectory</key>
    <string>/path/to/Project</string>
    <key>RunAtLoad</key>
    <true/>
    <key>KeepAlive</key>
    <true/>
    <key>StandardOutPath</key>
    <string>/path/to/Project/glancerf.log</string>
    <key>StandardErrorPath</key>
    <string>/path/to/Project/glancerf.log</string>
</dict>
</plist>
Use which python3 to get the correct path (e.g. /opt/homebrew/bin/python3 on Apple Silicon Homebrew).
2. Load and start
launchctl load ~/Library/LaunchAgents/com.glancerf.plist
3. Useful commands
| Action | Command |
|---|---|
| Start | launchctl load ~/Library/LaunchAgents/com.glancerf.plist |
| Stop | launchctl unload ~/Library/LaunchAgents/com.glancerf.plist |
| View logs | ~/Project/glancerf.log or Console.app |
Raspberry Pi
On Raspberry Pi OS use the same systemd approach as Ubuntu. Run the Linux installer from the Project folder (./installers/install-linux.sh) and choose "Run at logon", or follow the Ubuntu and other Linux (manual) steps.
For a headless Pi (no monitor), set desktop_mode to "headless" in glancerf_config.json and access the dashboard from another device using the Pi's IP and the ports in config (e.g. port 8081 for read-only).
To run at boot before any user logs in (e.g. kiosk): copy the service file to /etc/systemd/system/glancerf.service, edit it to set User= and Group= and the correct paths, then sudo systemctl daemon-reload, sudo systemctl enable glancerf, sudo systemctl start glancerf.
Headless vs desktop mode (run at logon)
- Desktop mode (
desktop_mode:"desktop","browser", or"terminal"): opens the GlanceRF window, or runs in terminal with optional browser. Use when you run it on a PC with a display. - Headless mode (
desktop_mode:"headless"or"none"): no GUI; only the web server runs. Use for Raspberry Pi without a monitor, or any machine you only access via browser.
On Linux and macOS, the installer detects desktop vs server (display available vs SSH/TTY). On desktop it offers Terminal+Browser, Terminal only, or Service; on server it asks only whether to install as a service.
After changing glancerf_config.json, restart GlanceRF (or the service/task) for the change to take effect.
Run at logon – troubleshooting
- Service or task does not start
- Check that the path to the Project folder and to
python3(orpy/pythonon Windows) are correct and have no typos. - On Linux/Mac, run
python3 run.pyfrom the Project folder in a terminal to see any error messages. On Windows, runpy -3 run.py(orpython run.py) from the Project folder. - Port already in use
- Change
portand/orreadonly_portinglancerf_config.jsonto values that are not in use. - Linux: user service not starting at login
- Ensure lingering is enabled if you want the service to run when nobody is logged in:
bash
    loginctl enable-linger $USER
Run at logon – summary
| Platform | Easiest | Manual option |
|---|---|---|
| Windows | Core installer or installers\install-windows.bat |
Startup folder shortcut or Task Scheduler |
| Ubuntu/Linux | Core installer or ./installers/install-linux.sh |
systemd user service (~/.config/systemd/user/glancerf.service) |
| macOS | Core installer or ./installers/install-mac.sh |
launchd (~/Library/LaunchAgents/com.glancerf.plist) |
| Raspberry Pi | Same as Linux | Same as Ubuntu; optionally system-wide |
How to use GlanceRF
Setup page (first run or via menu)
On the Setup page you can:
- Page 1 – Hardware: GPIO pin assignments (Raspberry Pi) and GPS (connection method, serial port, time sync).
- Page 2 – Station: Callsign and SSID (used by modules and for APRS cache), default location (grid square or lat,lng), APRS cache size and age, update mode (none / notify / auto), update check time, and telemetry (on/off).
- Page 3 – Layout: Screen aspect ratio and orientation, grid size (columns and rows).
- Page 4 – Tips & shortcuts: Quick reference for keyboard shortcuts and tips.
You can open Setup anytime by pressing M to open the menu, then choosing Setup. Use the tabs to move between pages.
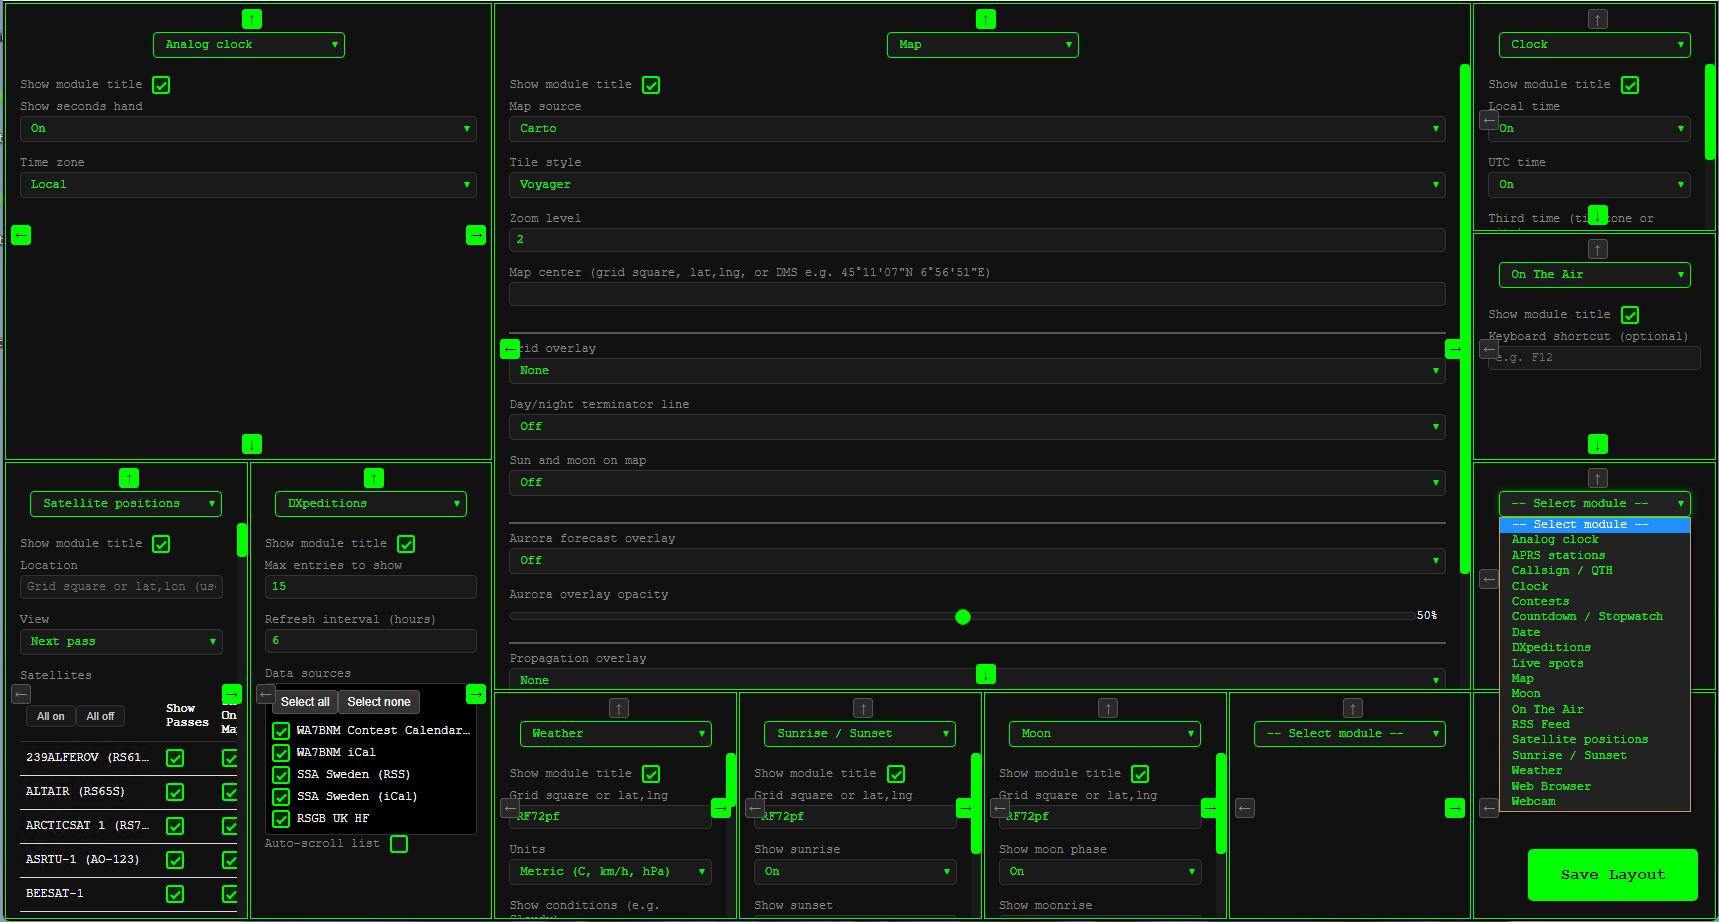
After setup you are taken to Layout where you can:
- Pick modules – Choose which modules go in each cell.
- Configure modules – On the Modules page (menu → Modules), expand a module to edit its settings and click Save.
- Resize modules – Use the layout editor to merge cells and resize modules.
- Map only modules – Add modules that feed the map overlay without taking a grid cell (menu → Map only modules or
/map-modules).
Menu (keyboard shortcut)
Press M on the main dashboard (or on Setup, Layout, or Modules pages) to open the menu. The menu lets you go to:
- Setup – First-run setup, aspect ratio, grid, station & updates, telemetry
- Layout editor – Add or rearrange cells, resize modules
- Modules – View all modules; expand to edit settings and Save
- Map only modules – Add modules that feed the map overlay (e.g. APRS, satellites)
- Updates – Current and latest version, release notes, trigger an update
- GPIO – Configure GPIO pins (Raspberry Pi; only when GPIO is available)
The shortcut is ignored when the cursor is in a text field.
Configuration file
Most settings are changed in Setup or the layout editor. The full list of glancerf_config.json keys and environment variables is in Configuration (reference—most users rarely edit the file by hand).
Telemetry
Optional anonymous usage data (what is collected, what is not, and how to turn it off) is documented in Telemetry. You can disable it in Setup → Station; the app behaves the same either way.
Desktop, browser, terminal, and headless mode
| Mode | Config | Behaviour |
|---|---|---|
| Desktop | desktop_mode: "desktop" |
Opens a local window showing the dashboard. Ideal for a dedicated screen. |
| Browser | desktop_mode: "browser" |
Starts the server and opens the default browser. |
| Terminal | desktop_mode: "terminal" |
Server runs in terminal; no automatic browser. |
| Headless | desktop_mode: "headless" |
Server only; connect via browser from another device. |
| None | desktop_mode: "none" |
Server only; no automatic browser or window. |
- Read-only view: A separate server (e.g. port 8081) serves a non-interactive copy of the layout. Use for extra displays or kiosks. Open e.g.
http://localhost:8081.
Logging and errors
Logs go to the console by default. For log levels, log files, APRS packet logging, and troubleshooting steps, see Debugging.
APRS
When you set a callsign in Setup, GlanceRF connects to APRS-IS and caches packets locally. The APRS module shows a last-heard list, and the Map can show APRS stations as dots or icons when the APRS module is in the layout or in Map only modules.
- APRS passcode is auto-computed from your callsign.
- Cache size and max age are configurable in Setup.
- See Debugging for APRS troubleshooting.